


Prerequisites:-
Step 1:
Set up Oracle Database Server on VMware Workstation using( OEL) Linux 7.6 OS Platform?
Step 2: Connect to OEL 7.6 server via putty and install the below packages
| 1 | yum -y install -y oracle-database-preinstall-19c |

| 1 | yum -y install oracleasm* |

| 1 | yum -y install kmod-oracleasm* |

Add below OS groups
| 1 2 3 | groupadd -g 54327 asmdba |

Add asmdba as secondary group to Oracle user
| 1 | usermod -a -G asmdba oracle |

Create Grid User
| 1 | useradd -u 54331 -g oinstall -G dba,asmdba,asmoper,asmadmin,racdba grid |

Change the password for Oracle and Grid user
| 1 | passwd oracle |

| 1 | passwd grid |

Create the Directories for Oracle Database installation
| 1 2 3 | mkdir -p /u01/app/oracle |

Create the Directories for Oracle Grid installation
| 1 2 3 | mkdir -p /u01/app/grid/product/19.3.0/grid_home |
Configure Oracle ASM
Let us configure Oracle ASM
| 1 | oracleasm configure -i |
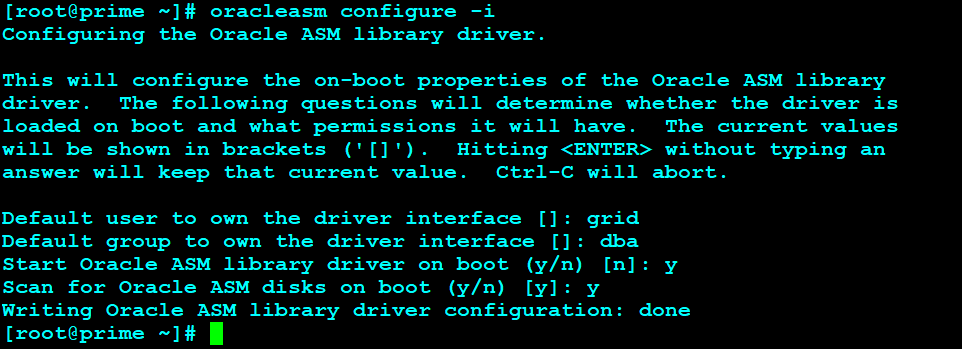
Load / initiate Oracle ASM

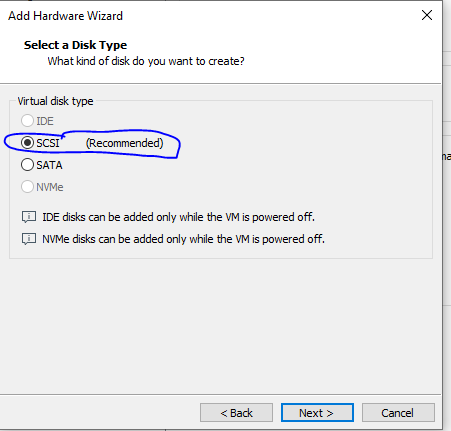
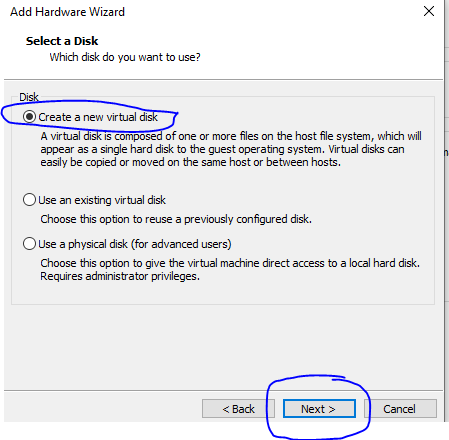
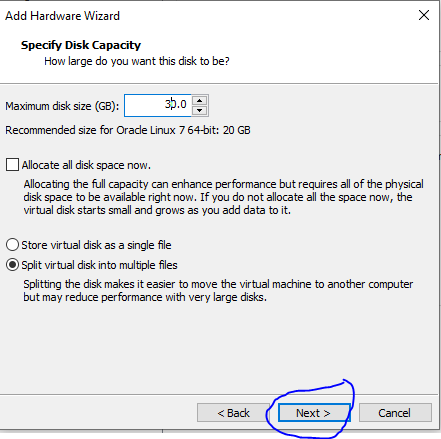
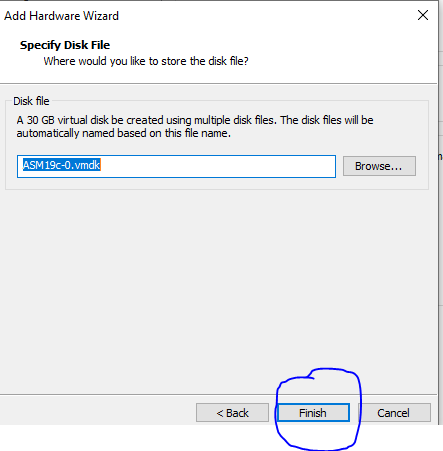
Add 30 GB HDD to virtual machine which we will use to create 3 partitions of 10 GB each for our ASM disks. Open Virtual machine >> Settings >> Storage >> Controller: SATA >> Create new disk


create 3 partitions of 10 GB each for our ASM disks
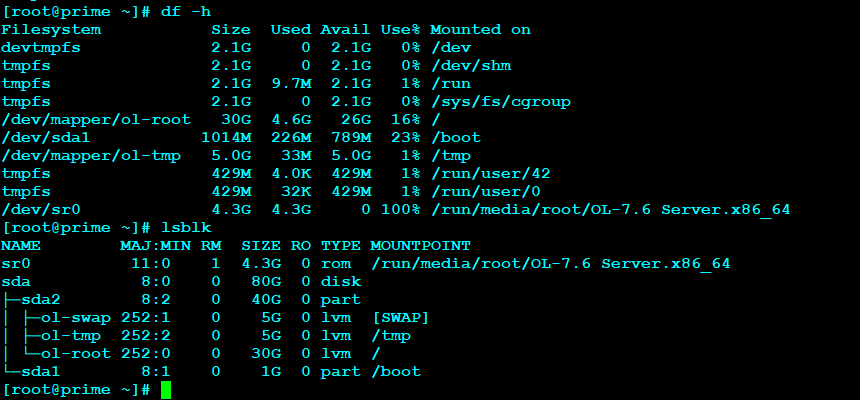
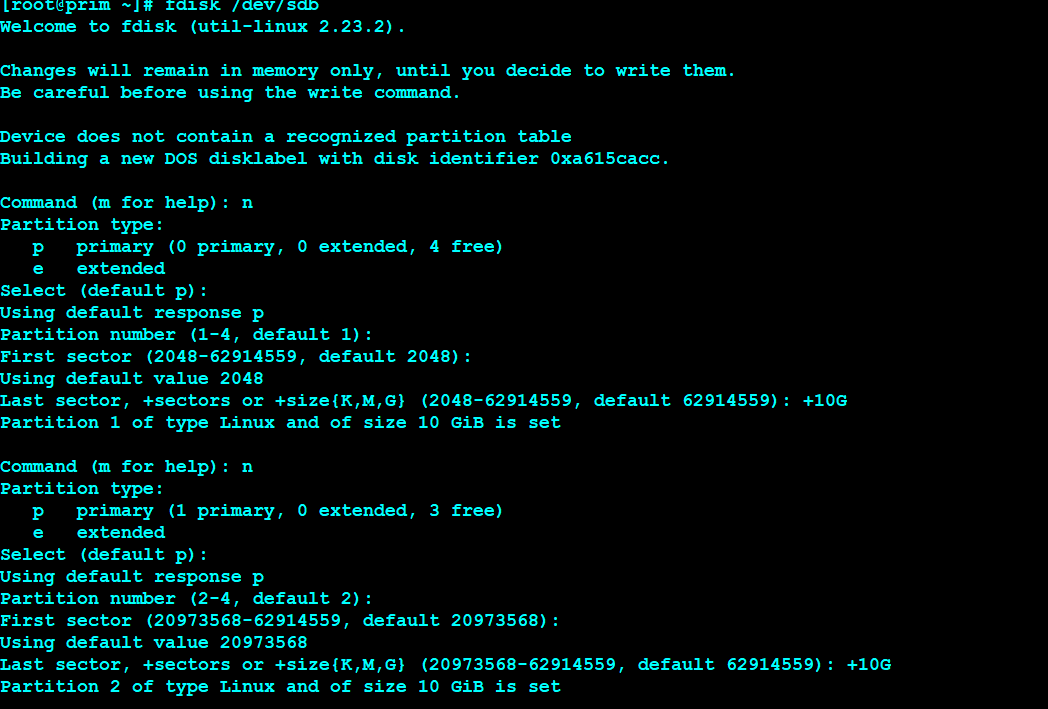
login as root user to format the disk
| 1 | fdisk -l |

In the above output the /dev/sdb is not yet formatted. Let’s create 3 partitions on sdb
| 1 2 3 4 5 6 7 8 9 10 11 12 13 14 15 16 17 18 19 20 21 | fdisk /dev/sdb |


Create separate ASM Disk for each partition
| 1 2 3 | oracleasm createdisk CRS1 /dev/sdb1 |

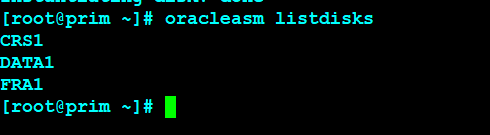
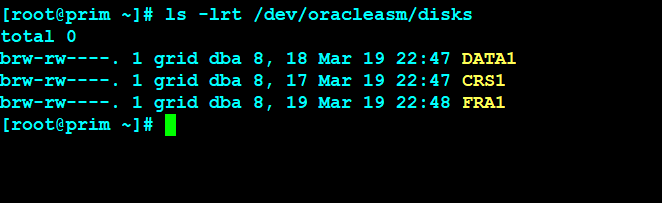
To check asm disks
| 1 | oracleasm listdisks |
| 1 | ls -lrt /dev/oracleasm/disks |
Install Grid Software
Edit Grid user Bash_Profile but take .bash_profile backup before editing it
| 1 | su - grid |

| 1 | cp .bash_profile .bash_profile.orig |

| 1 | vi .bash_profile |

Paste below contents
| 1 2 3 4 5 6 7 8 9 10 11 12 13 14 15 16 17 18 19 | if [ -f ~/.bashrc ]; then |
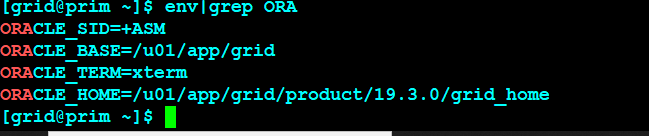
Save and close vi editor. Execute the bash profile and check the environment variables
| 1 | source .bash_profile |
| 1 | env|grep ORA |
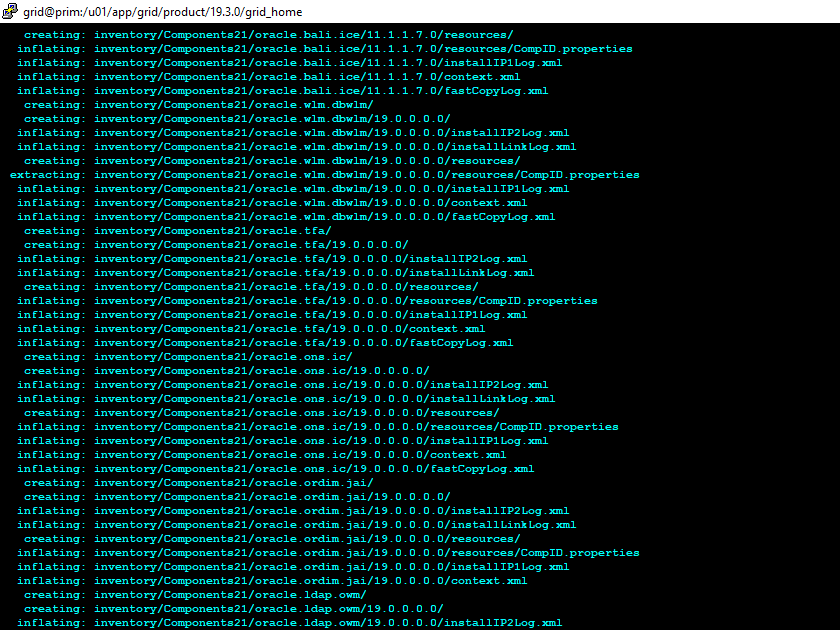
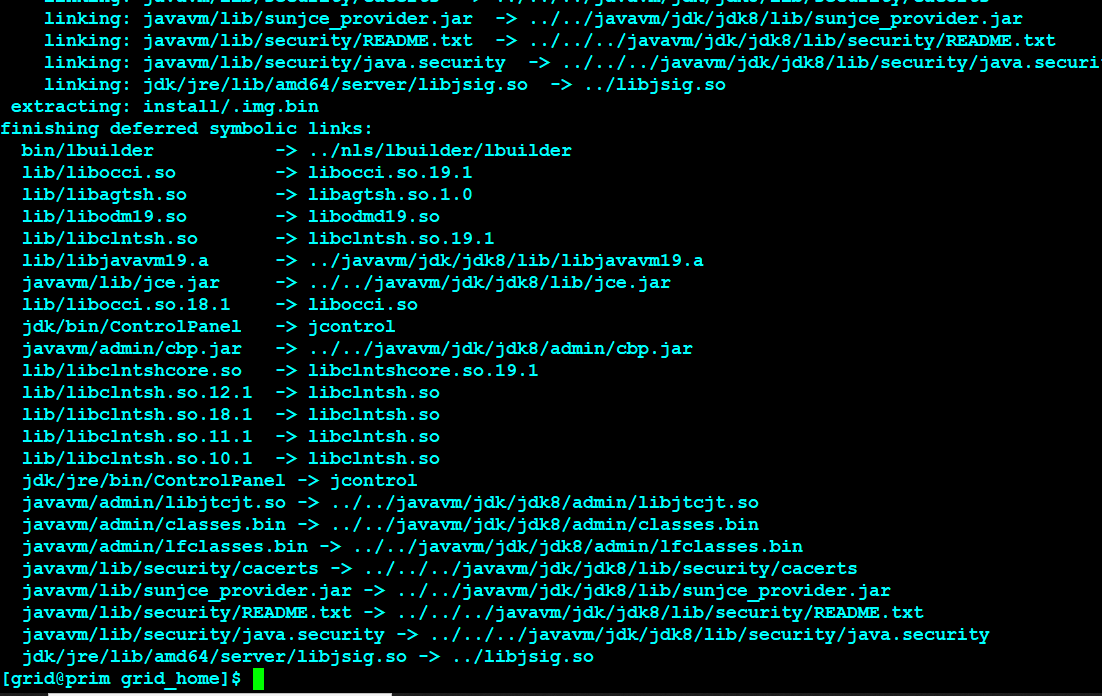
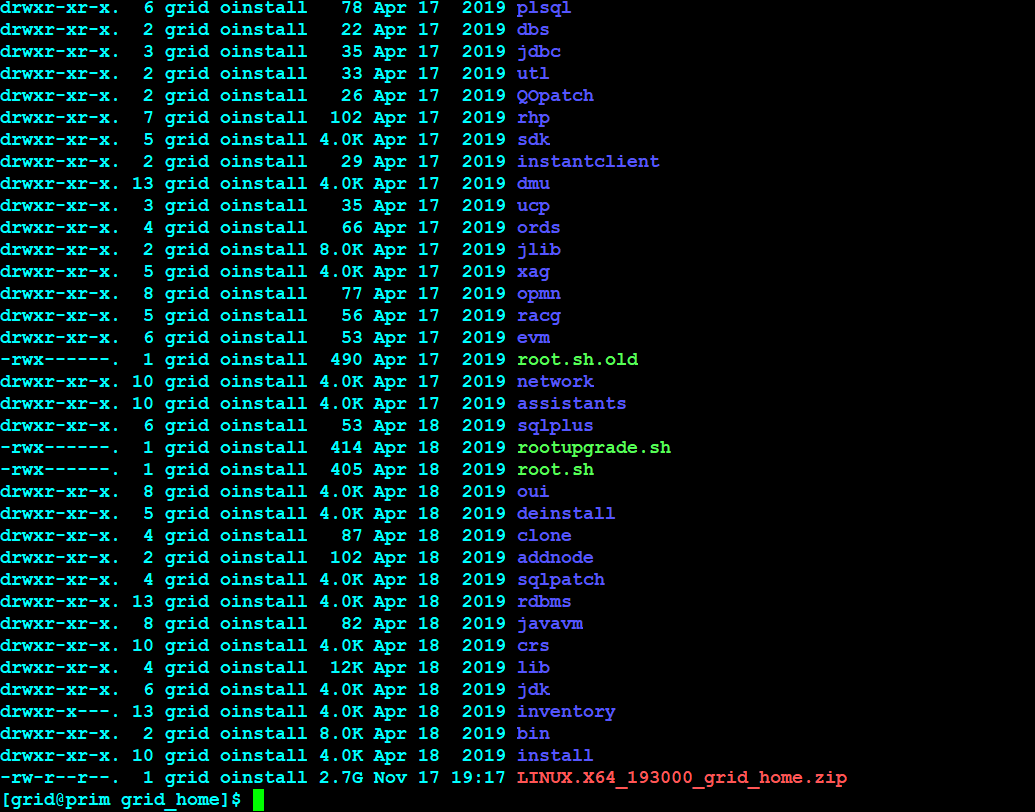
Copy the 19c grid software under grid home and unzip it

| 12 | cd $ORACLE_HOMEunzip LINUX.X64_193000_grid_home.zip |


| 1 | unzip LINUX.X64_193000_grid_home.zip |

Setup xming and Start the gridSetup.sh as a grid user which will install grid software
| 1 | cd /u01/app/grid/product/19.3.0/grid_home |
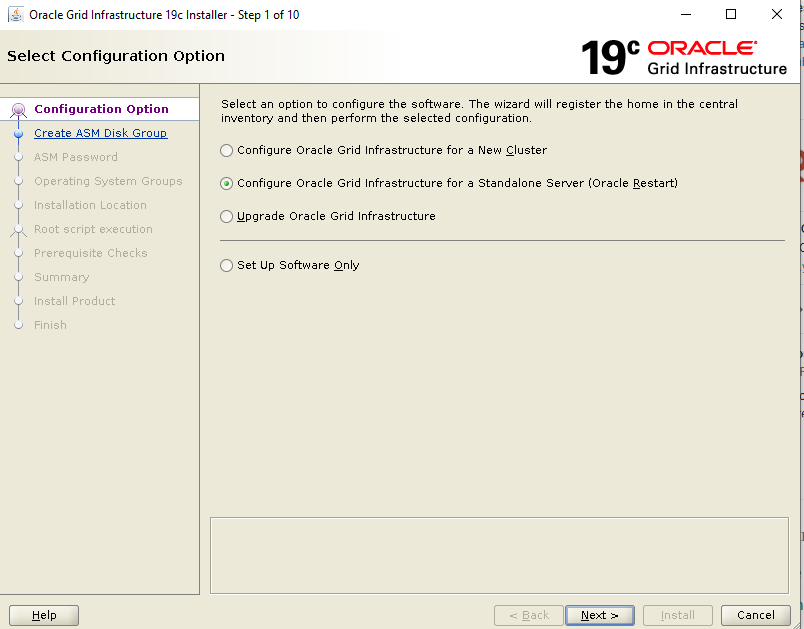
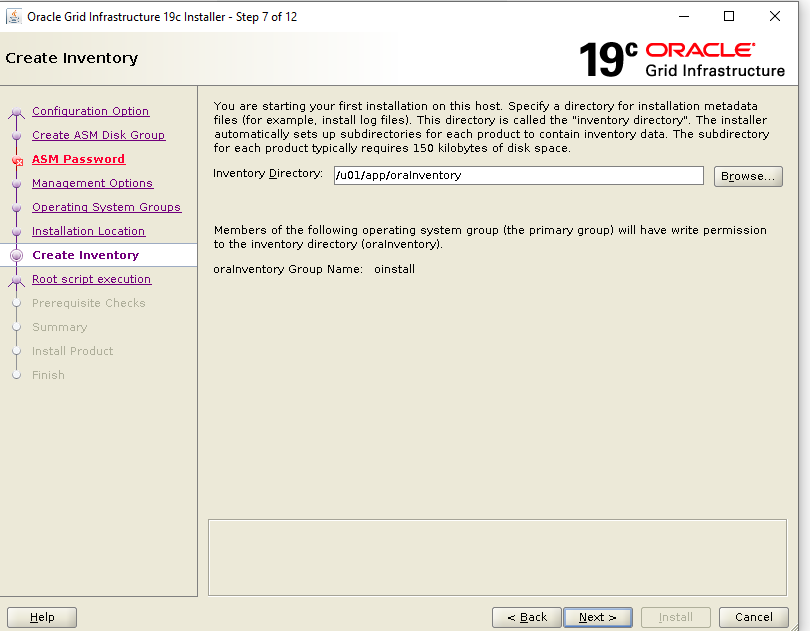
Follow below screens to perform the grid software installation

Select /dev/oracleasm/disks/CRS1 >> Next

Select Use Same Password for these Accounts >> Specify password >> confirm password >> Next. Click on Yes

Click Next >> Next

Click Next >> Next >> Next


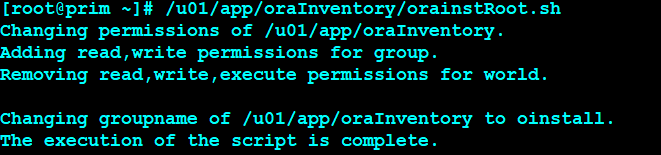
| 1 2 3 4 5 6 | chown -R grid:oinstall /u01 |
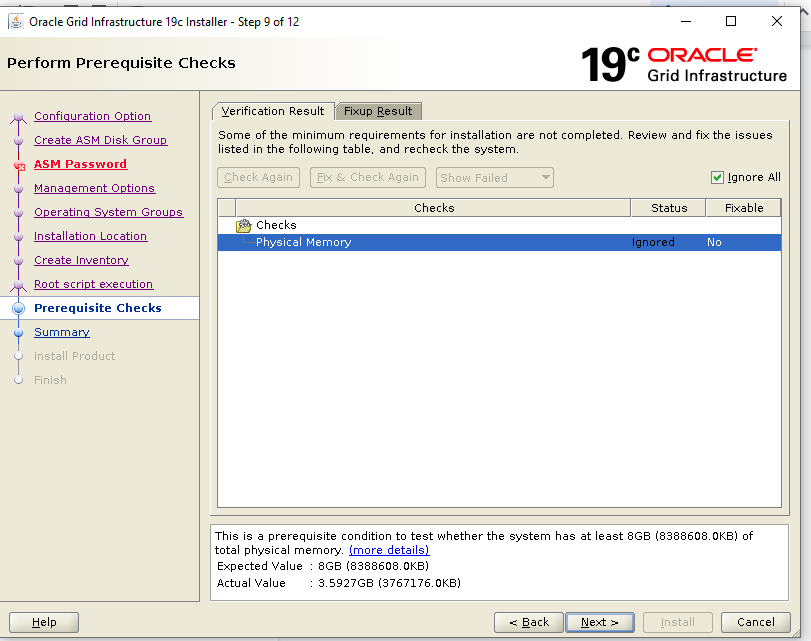
Click on fix and check again

Install the missing package
| 1 2 3 4 5 6 7 8 | [root@prim rpm]# pwd |
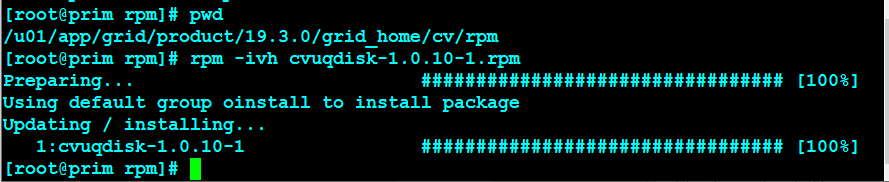


To install package (under root user):
| 1 2 3 | cd /u01/app/grid/product/19.3.0/grid_home/cv/rpm |


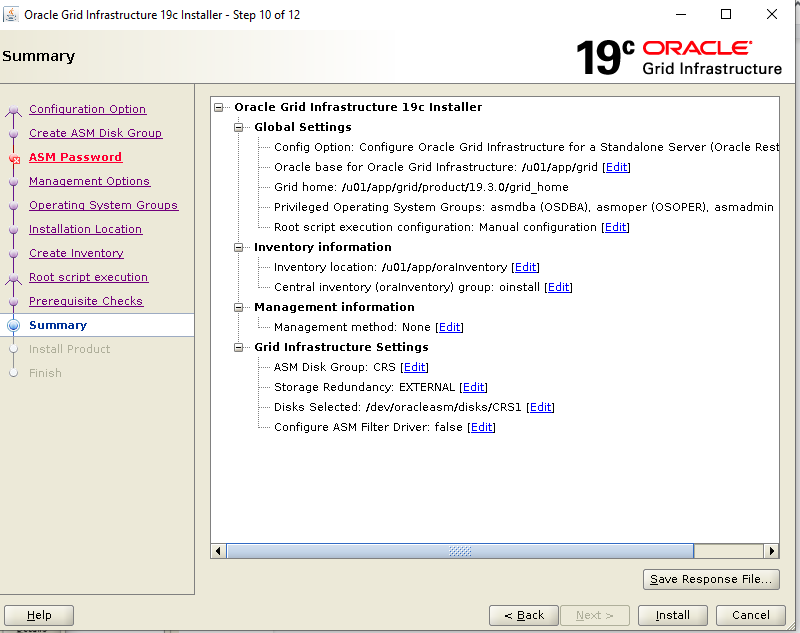
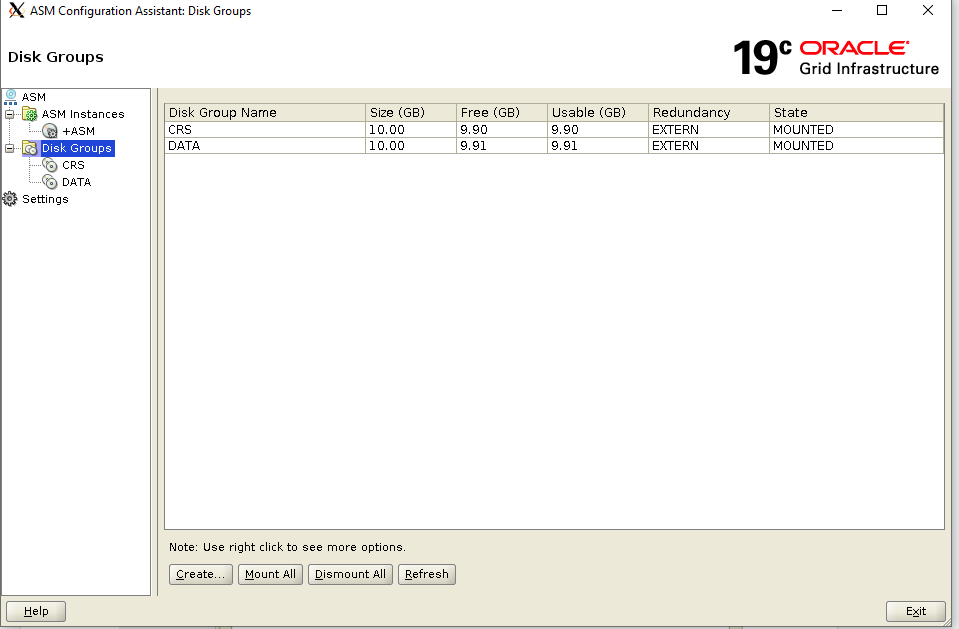
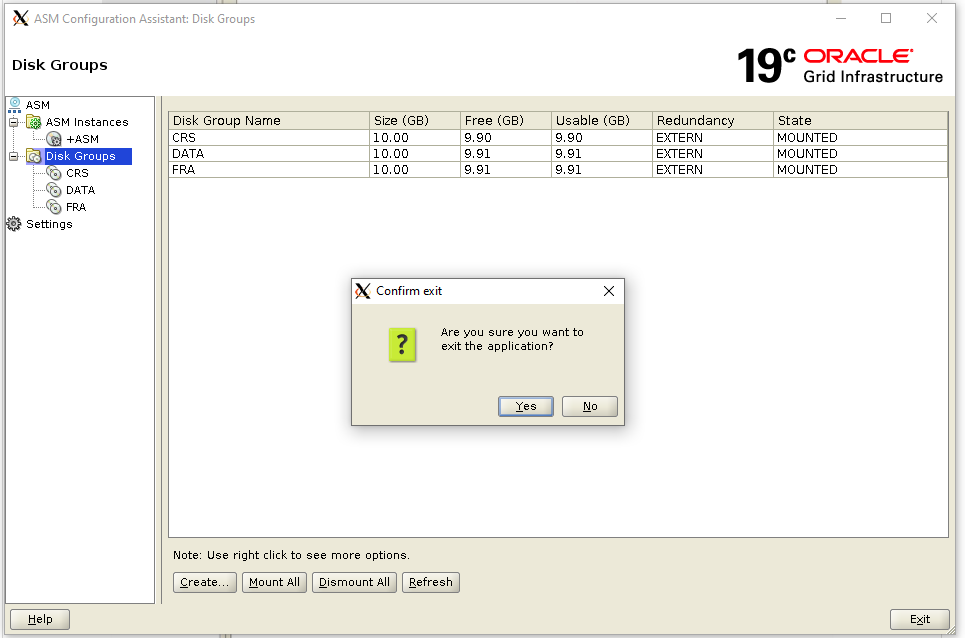
The grid installer allows you to only create one diskgroup (CRS). We need to start the asmca utility in order to create DATA and FRA diskgroup which are required for database installation. Click on Create

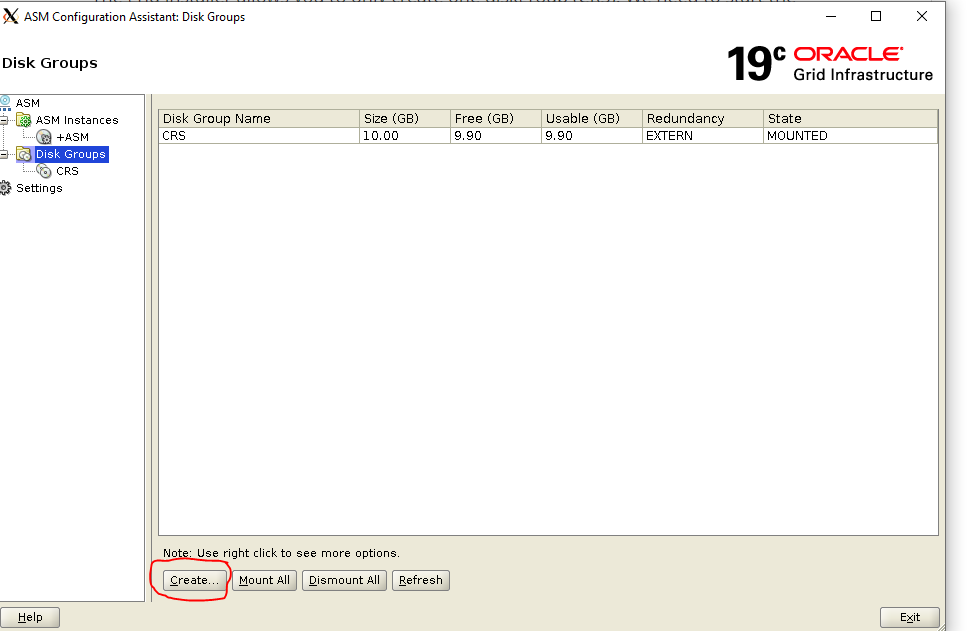
Click on Create


Install Oracle Software
Login as oracle
| 1 | vi .bash_profile |
Edit Oracle user bash profile and put below
| 1 2 3 4 5 6 7 8 9 10 11 12 13 14 15 16 17 18 19 20 21 | vi .bash_profile |
| 1 | . .bash_profile |

| 1 2 3 | mkdir -p /u01/app/oracle |

Download
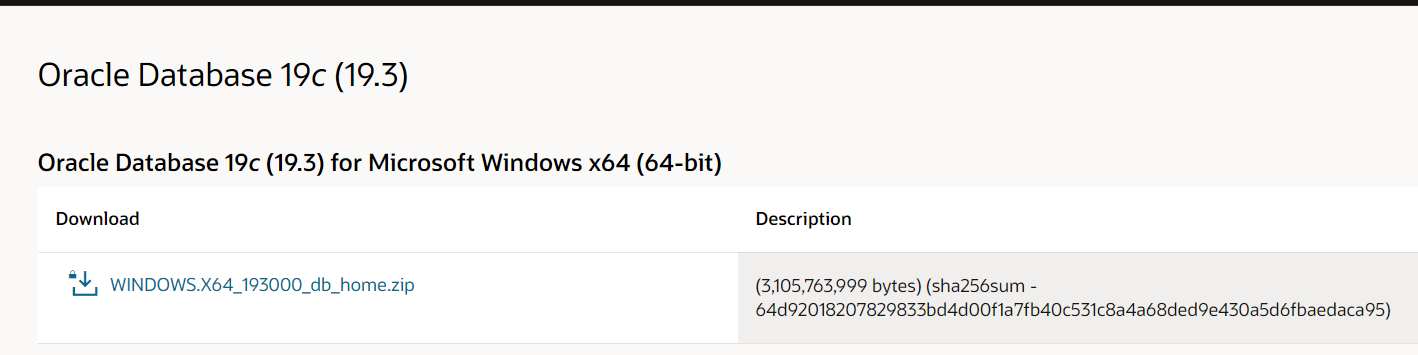
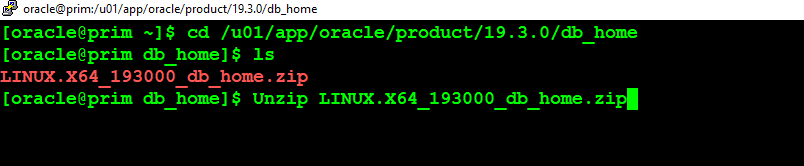
Unzip the Oracle software
| 1 2 3 4 | cd /u01/app/oracle/product/19.3.0/db_home |

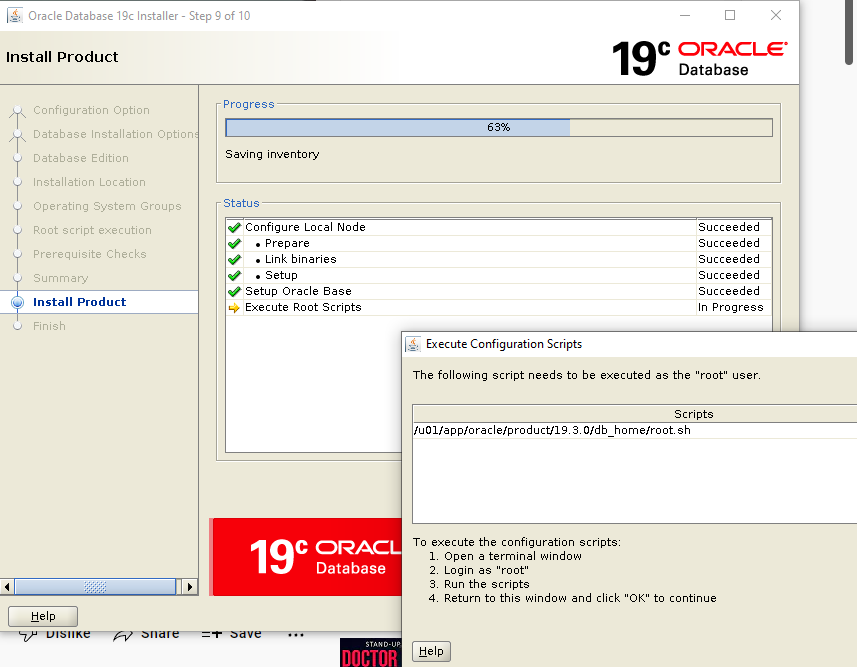
Start the runinstaller
| 1 2 | cd database./runinstaller |
Uncheck the i wish to receive security updates via my oracle support


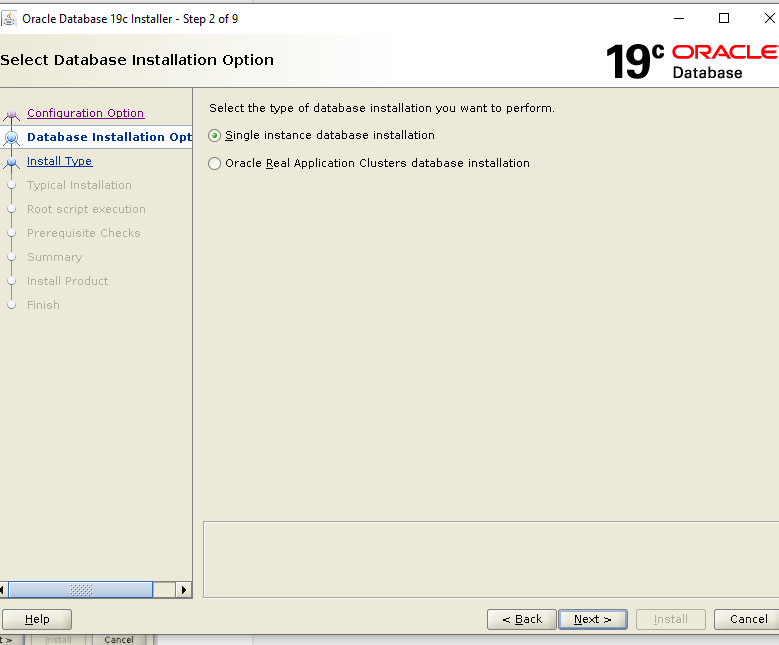
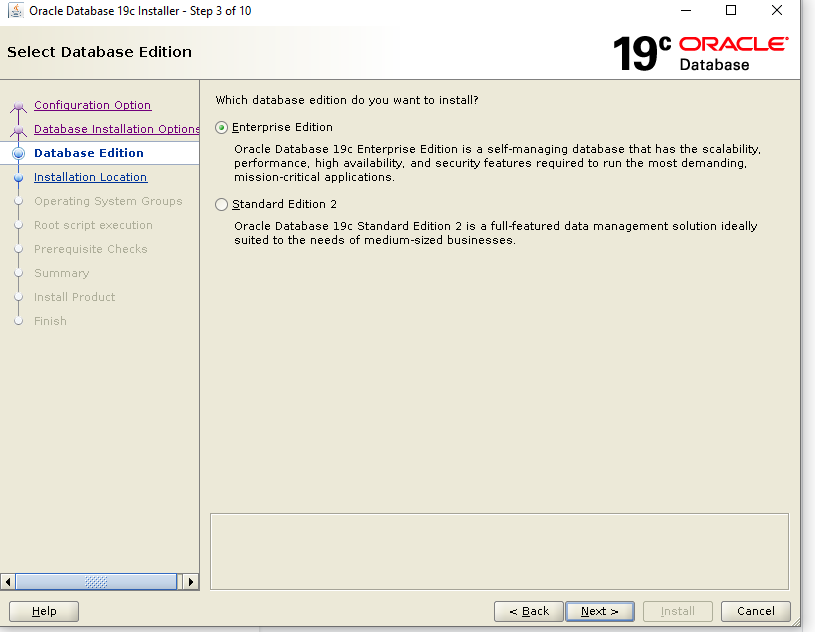

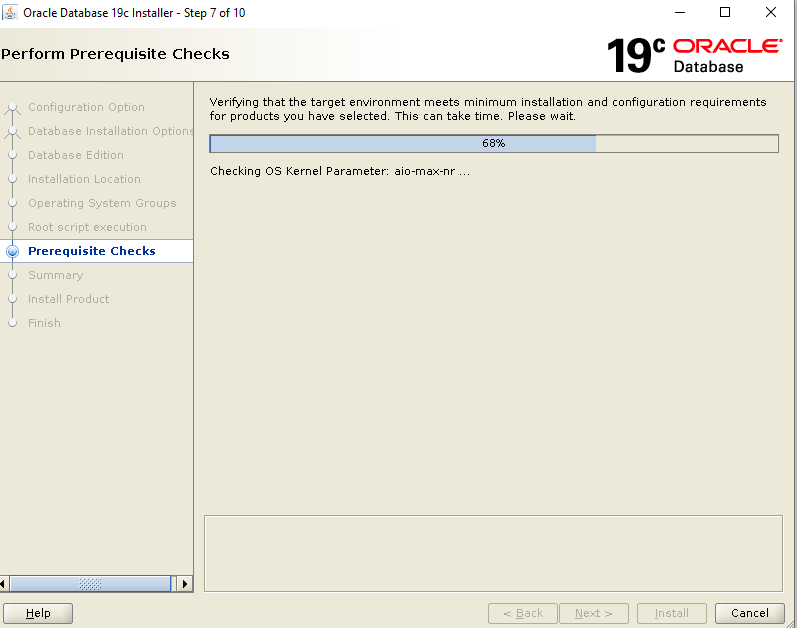
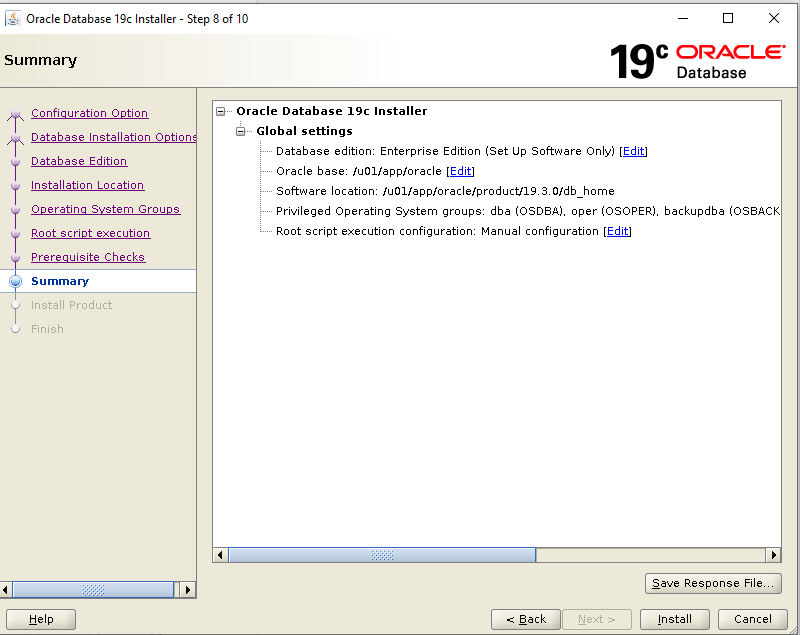
Select install database software only >> Next >> Next >> Next >> Next >> Next


DBCA Create Database on ASM

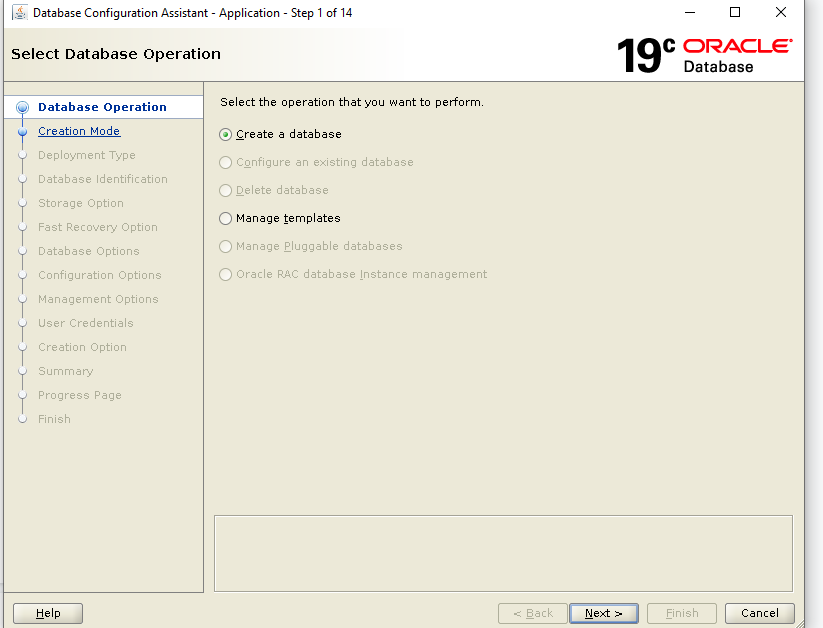
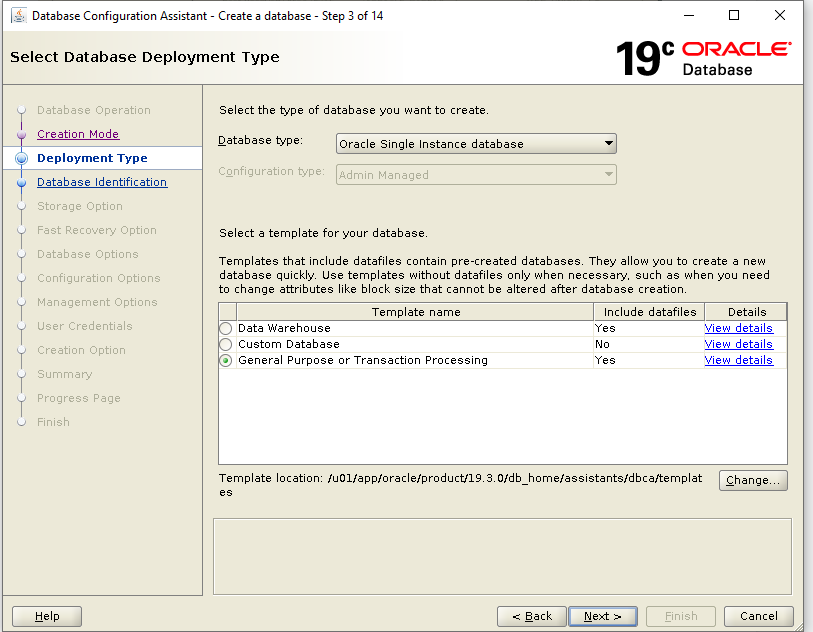
We can now go ahead and create database on ASM with DBCA. Start DBCA >> Create a Database >> Advance Configuration

Select Use following for the database storage attributes >> Browse
Select specific fast recovery area >> Browse
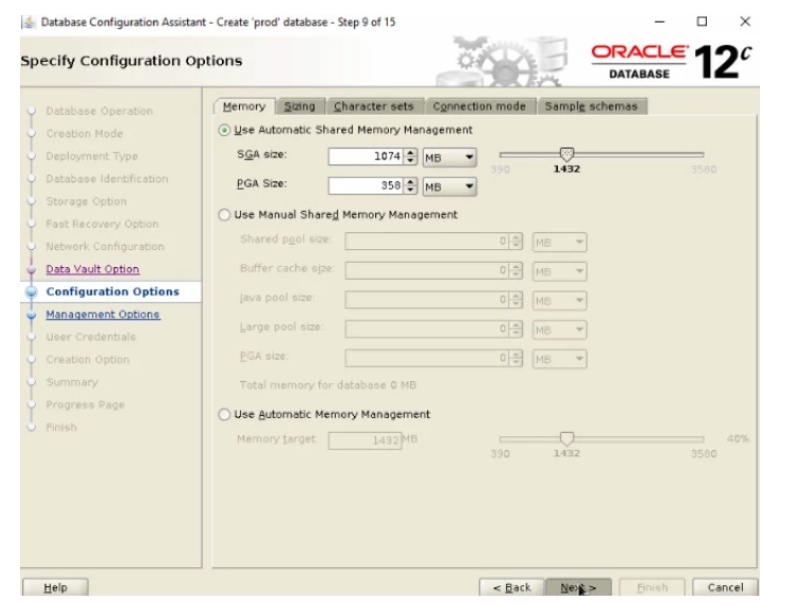
Click Next >> Next >> Next
Uncheck Register with Enterprise Manager(EM) database express
Select Use the same administrative password for all accounts >> Password >> Confirm Password
Select Create the database >> Next >> Finish

Done! For confirmation purpose, connect to database as Oracle user and issue below queries
| 1 2 3 | SQL> select name, open_mode from v$database; |
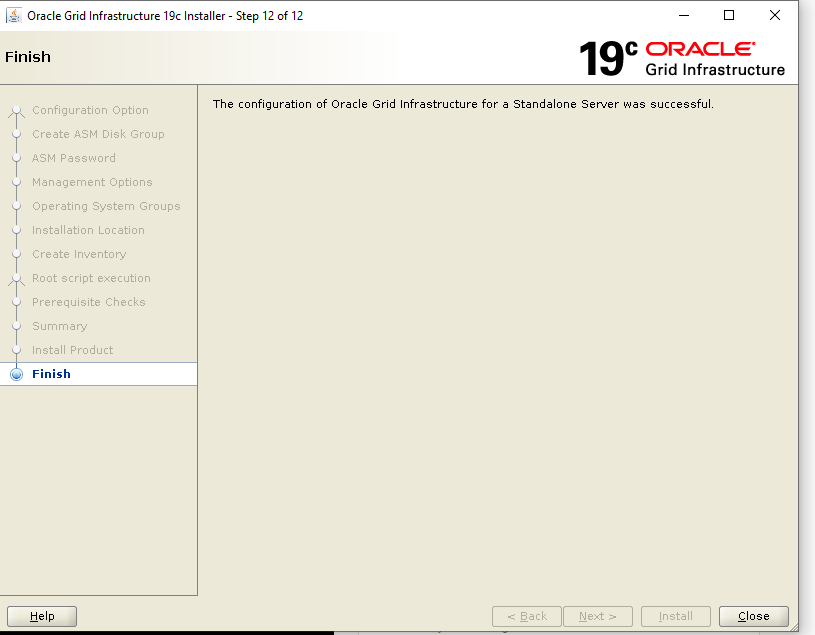
We have successfully create Oracle Database on ASM!
Hope It Helps !!


Your information will never be shared with any third party