


Oracle 19c Database Installation (on Oracle Linux 7.6) on VMware Workstation
Section-1
Download and unzip Oracle 19c Software
Create a staging directory
| # | Description | Command / Details / Screenshots |
| 1.1 | let’s create a staging directory for all oracle software | Login to server as oracle |
| 1.2 | Create a new staging directoryWhat is the Staging Directory?It is temporary directory to stage the software | mkdir -p /data/staging/19C |
| 1.3 | Verify directory is created | ls -ld /data/staging/19C |
| 1.4 | Set Up .bash_profile | cd /home/oraclevi .bash_profileAdd the following content in .bash_profile file# .bash_profile# Get the aliases and functions if [ -f ~/.bashrc ]; then . ~/.bashrc fi# User specific environment and startup programs# User specific environment and startup programsexport ORACLE_BASE=/data/app/oracle export ORACLE_HOME=/data/app/oracle/product/19C/dbhome_3export ORACLE_SID=primexport LD_LIBRARY_PATH=\$ORACLE_HOME/lib:/lib:/usr/lib export CLASSPATH=\$ORACLE_HOME/jlib:\$ORACLE_HOME/rdbms/jlibPATH=$PATH:$HOME/.local/bin:$ORACLE_HOME/binexport PATH |
Download Oracle 19c Software
Note: Use Google Chrome as your browser for this exercise.
| # | Description | Command / Details / Screenshots |
| 1.5 | Login at Oracle site.If you do not have login, Sign up for a free account. | Login: https://www.oracle.com/in/database/technologies/oracle19c-linux-downloads.html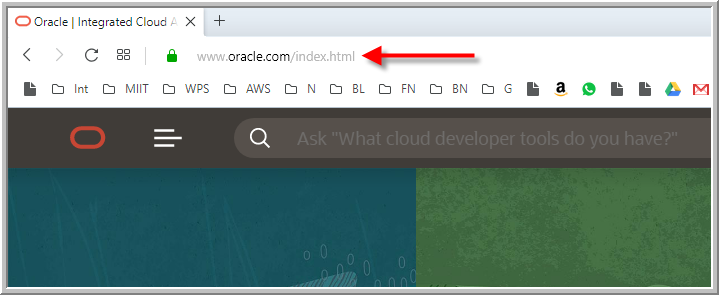 Signup @ https://profile.oracle.com/myprofile/account/create-account.jspx? Signup @ https://profile.oracle.com/myprofile/account/create-account.jspx? |
| 1.6 | Click on  | |
| 1.7 | Provide your username (your email address) and password that you used to sign up. Click Sign in. | 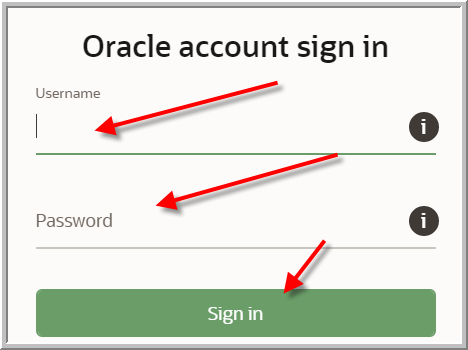 |
| 1.8 | Go to download section of databasesScroll down to section 19.3 – Enterprise Edition (also includes Standard Edition 2) Linux x86-64 and click on See all | |
| 1.9 | Click on LINUX.X64_193000_db_home.zip  You may be prompted to accept the license You may be prompted to accept the license | |
| 1.10 | At this point, the download should start. If you are using chrome, then you can see this at the bottom of the screen. | |
| 1.11 | (Winscp) winSCP the oracle 19c database software from your windows machine to linux machine ——-Login to the server with your hostname and user credentials 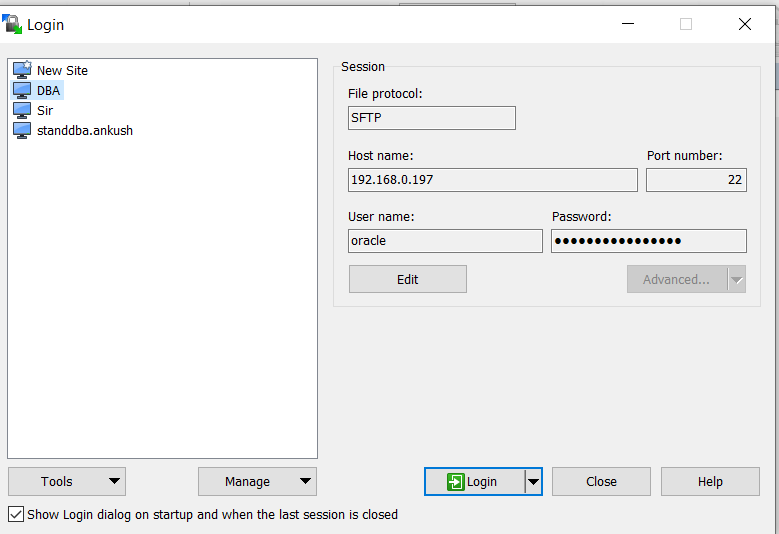 Click Login Click Login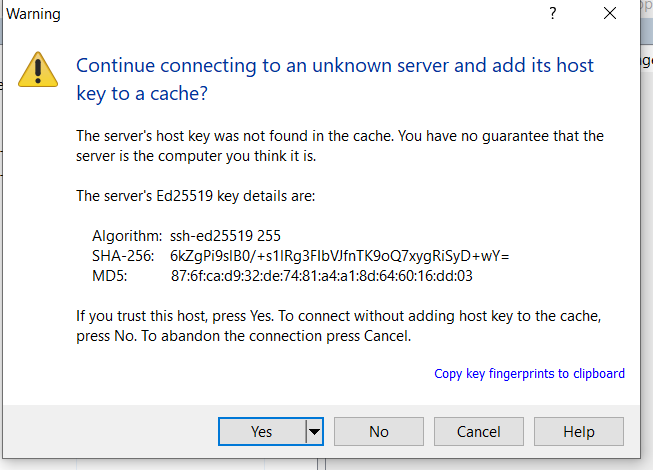 Click yes Drag and drop the 19c software to our staging directory /data/staging/19C Click yes Drag and drop the 19c software to our staging directory /data/staging/19C | |
| 1.12 | Verify zipfile is transferred to the staging directory | cd /u99/software/12c/DBls -ltr |
| 1.13 | Before unzip create ORACLE_HOME directory Unzip the software into newly created ORACLE_HOME By -d flag | mkdir -p /data/app/oracle/product/19C/dbhome_3 |
| 1.14 | Once unzip is completed, you should see screen like following → | |
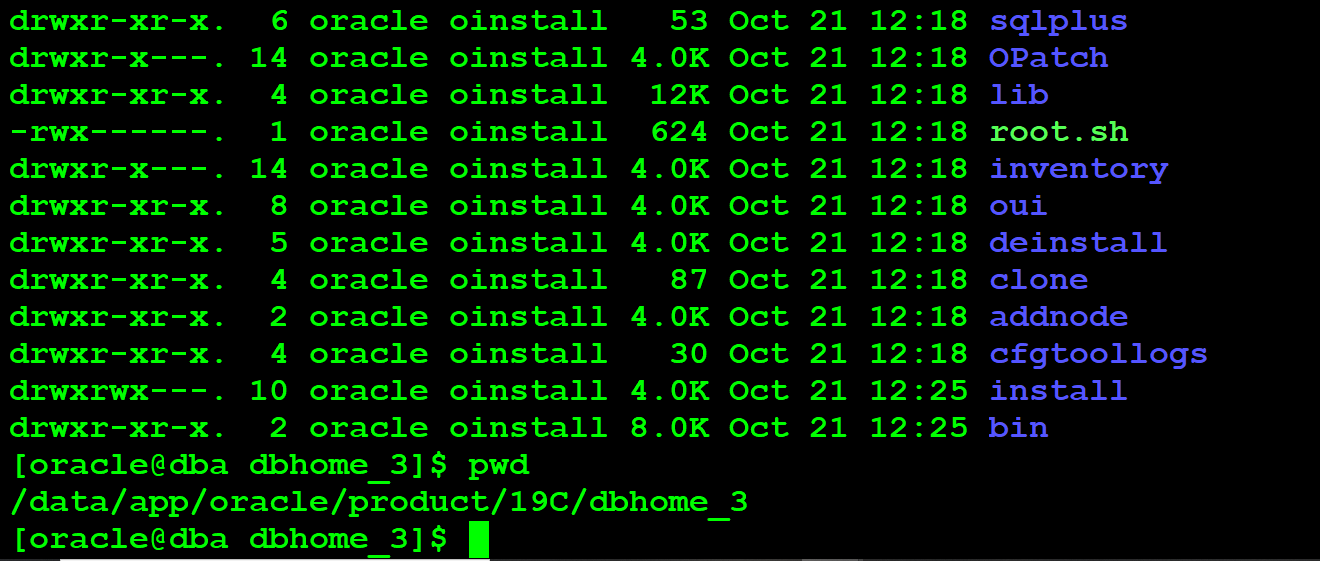
| 1.15 | runInstaller (program to install oracle) resides. | cd /data/app/oracle/product/19C/dbhome_3 |
——————————————————————————–END OF SECTION ———————————————————————————–
| 1.16 | Before unzip create ORACLE_HOME directory Unzip the software into newly created ORACLE_HOME By -d flag | mkdir -p /data/app/oracle/product/19C/dbhome_3 Note: If you are getting unzip is not found, run “yum install unzip -y” as root in a new session and come back to this session and execute the command again.. Note: If you are getting unzip is not found, run “yum install unzip -y” as root in a new session and come back to this session and execute the command again.. |
——————————————————–END ————————————————-
SECTION-2
Install Oracle 19c Database software
| # | Description | Command / Details / Screenshots |
| 2.1 | Start Xming on laptop if not already started |  |
| 2.2 | Login to server as oracle with X-11 enabled. | whoami |
| 2.3 | enable X 11 forwarding on puttySet x Display location to the following localhost:0 | 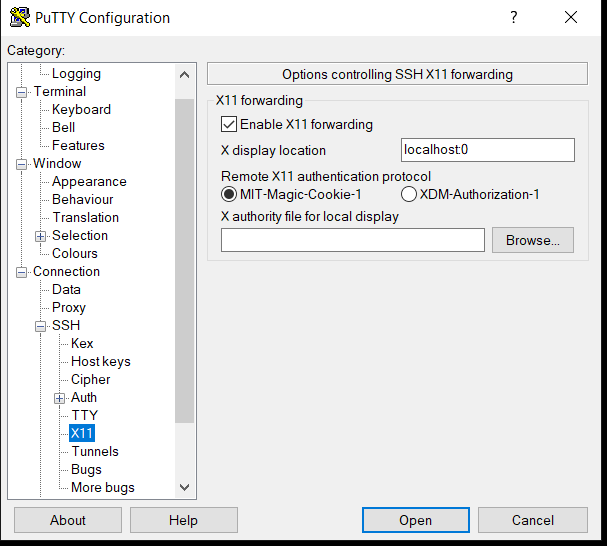 |
| 2.4 | Change directory to ORACLE_HOME | cd /data/aoo.oracle/product/19C/dbhome_3pwdls -ltrh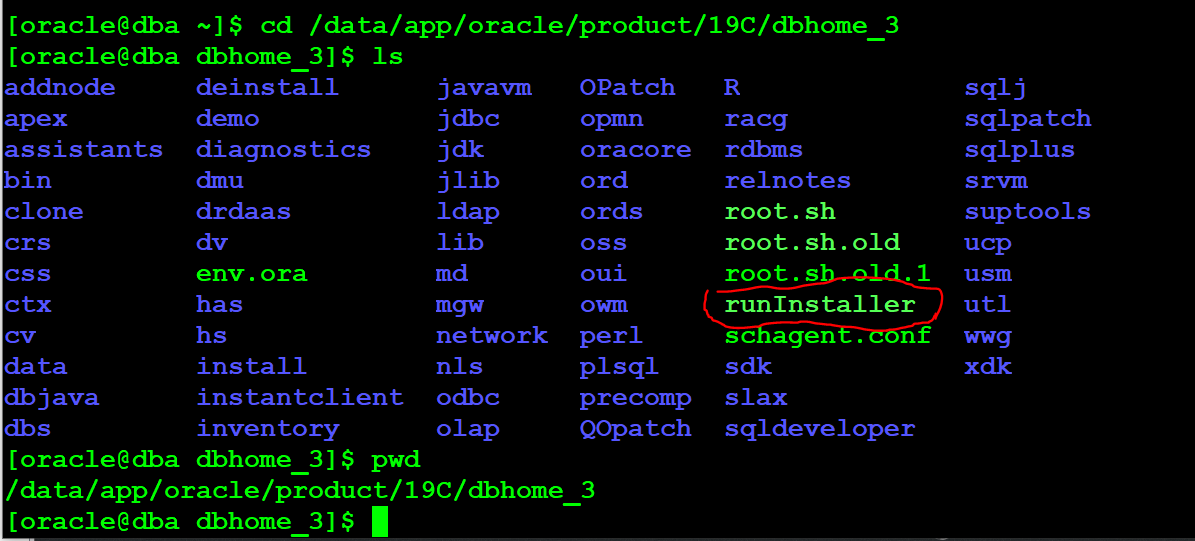 |
| 2.5 | Execute runInstaller to begin Oracle 19c installation | ./runInstallerPress y when prompted. |
| 2.6 | Let’s wait for few seconds… | |
| 2.7 | step 1 of 9Select “Install database software only”Click [Next] | |
| 2.8 | Step 2 of 9Select “Single instance….”Click [Next] |  |
| 2.9 | Step 3 of 9Select “Enterprise Edition”Click [Next] |  |
| 2.10 | Step 4 of 10Oracle Base → /data/app/oracleSoftware Location → /data/app/oracle/product/19C/dbhome_3Click [Next] | 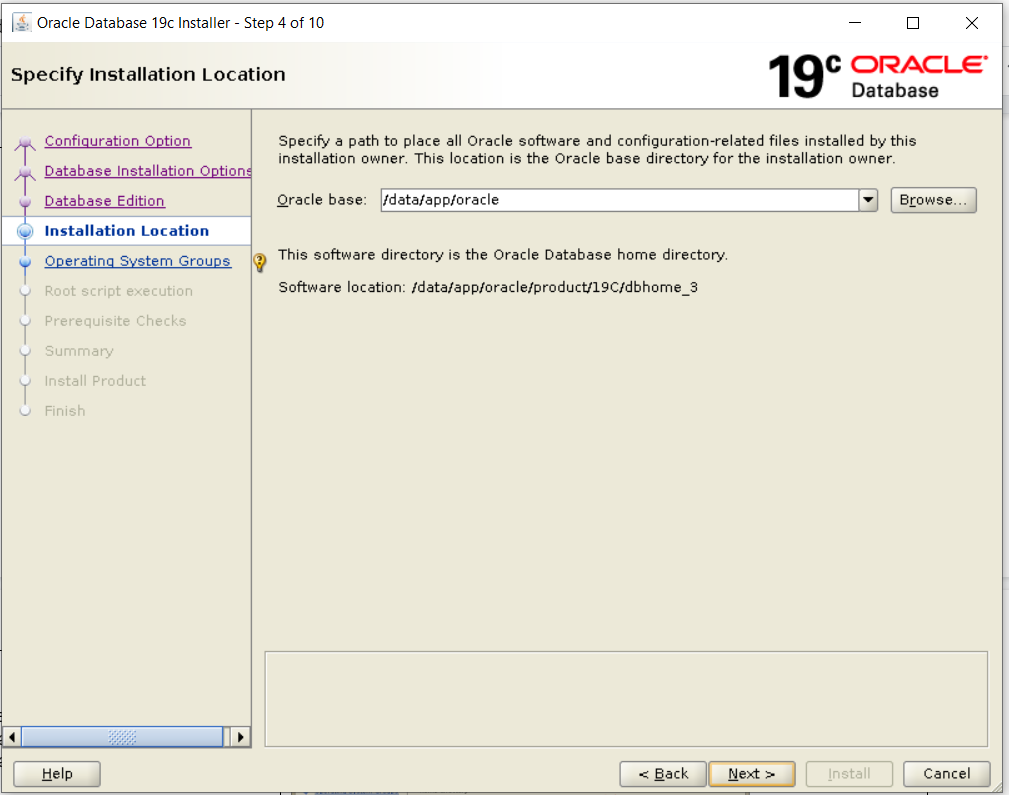 |
| 2.11 | Step 5 of 10select all to “default groups ”Click [Next] | 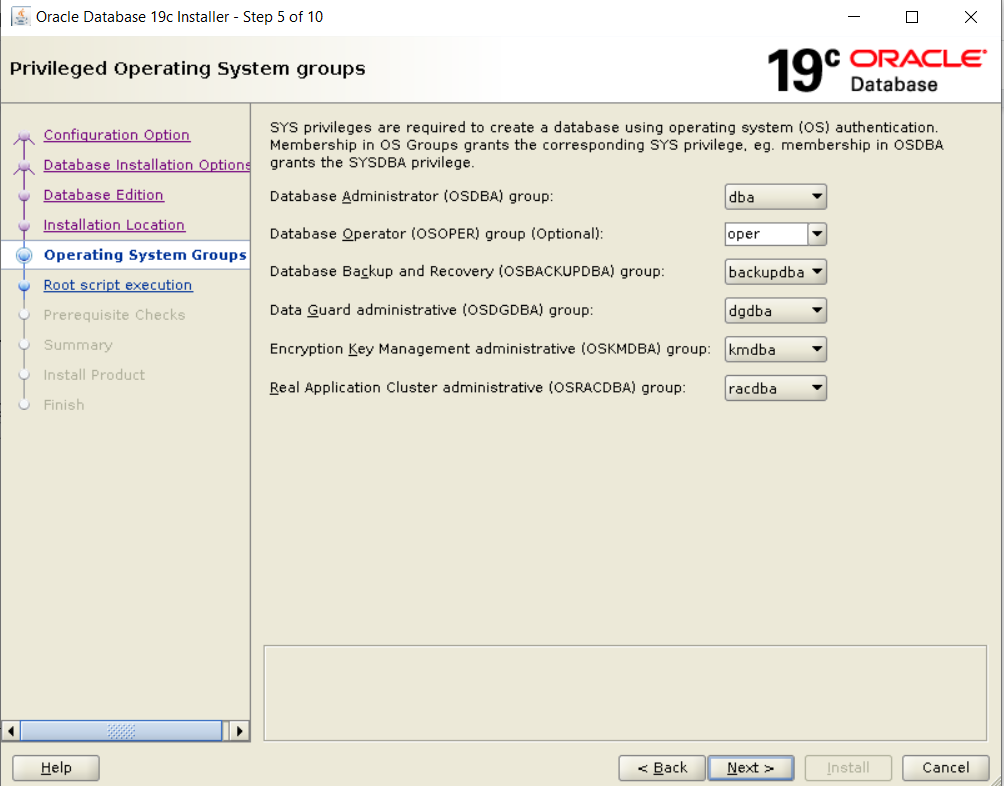 |
| Step 6 of 10 Root script execution configurationWe are going to run scripts manually so click Next….. | 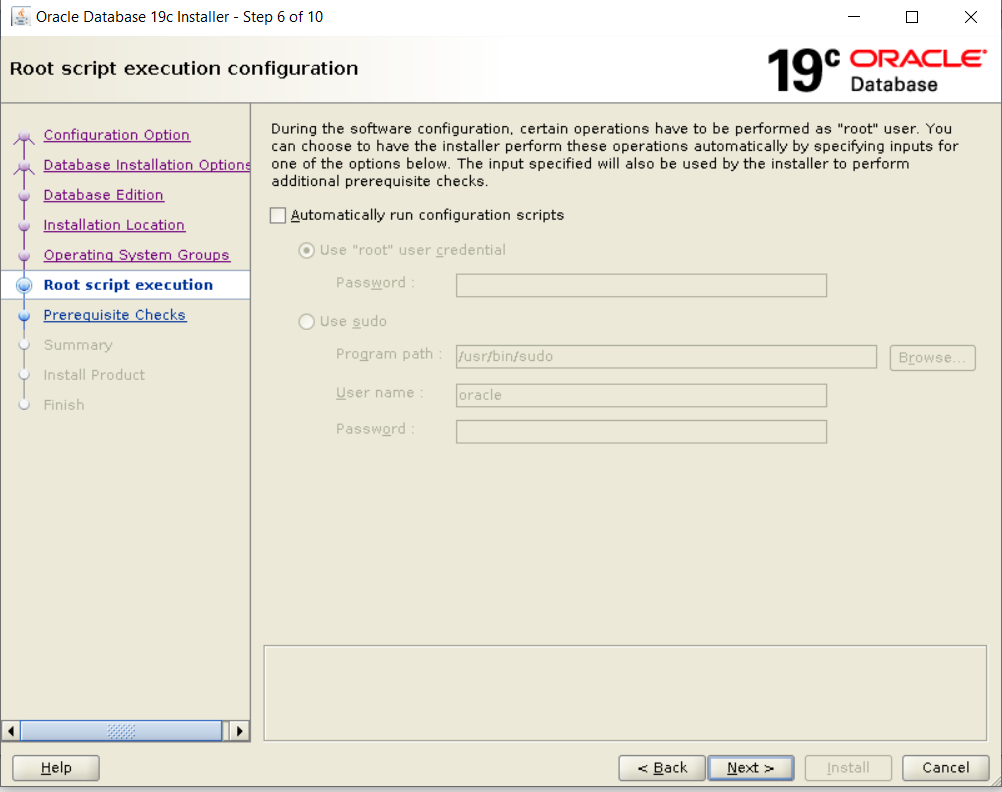 | |
| 2.12 | Step 8 of 10OUI will start performing prerequisites |  Similarly, if there are any packages that you have missed earlier and OUI has detected it, install the package as root with “yum install -y” command. Be sure you login as root. Otherwise, you will get an error.Once installed, lets try again.And it worked this time. I was able to move forward Similarly, if there are any packages that you have missed earlier and OUI has detected it, install the package as root with “yum install -y” command. Be sure you login as root. Otherwise, you will get an error.Once installed, lets try again.And it worked this time. I was able to move forward |
| 2.13 | Step 9 of 10Click [install]Installation will run for a few minutes. |  |
| 2.14 | Step 9 of 10Oracle Installation begins installing binaries. | |
| 2.15 | Once the installation is done, OUI will ask you run the following scripts as root./data/app/oracle/product/19C/dbhome_3/root.sh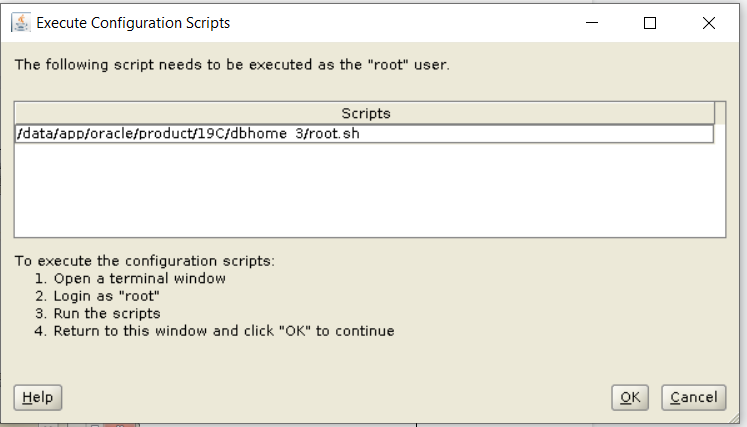 To run as root, Open new putty session as root and copy paste the following:a./data/app/oracle/product/19C/dbhome_3/root.sh To run as root, Open new putty session as root and copy paste the following:a./data/app/oracle/product/19C/dbhome_3/root.sh 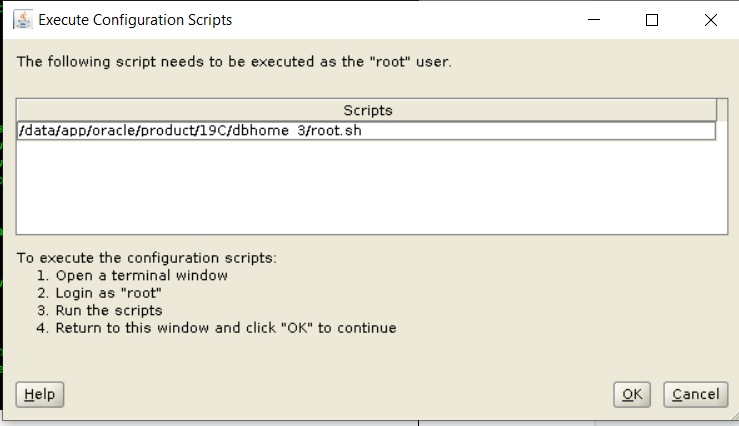 | |
| Step 10 of 10Click [ok]NextClick{close} |  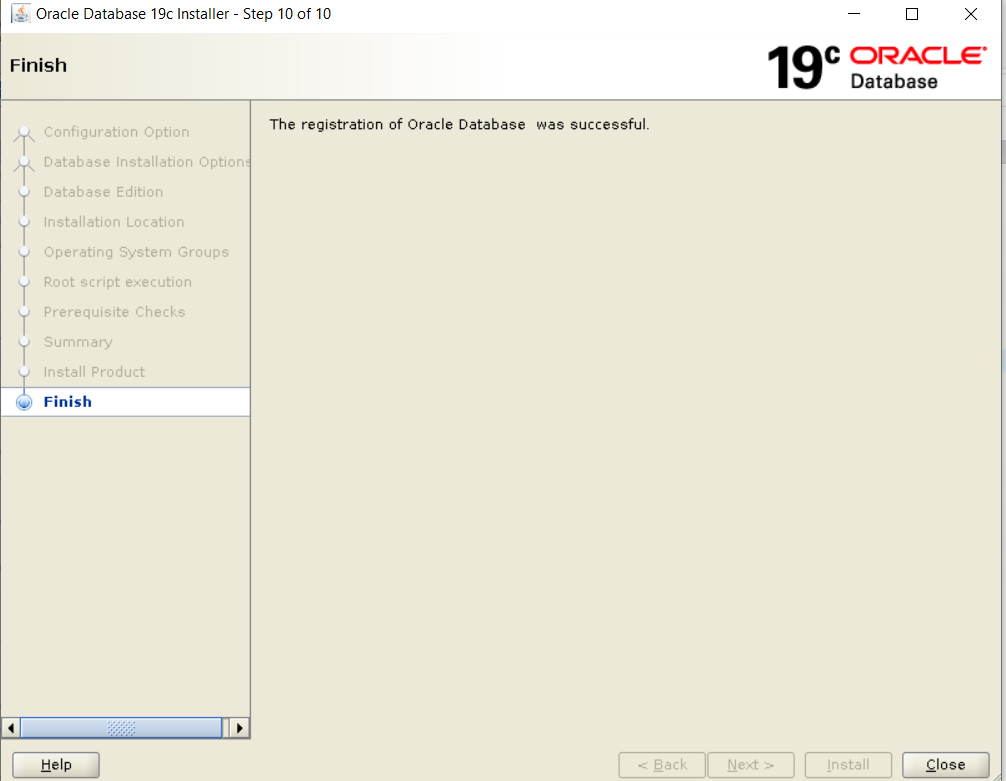 | |
| 2.16 | Oracle 19c software installation done and logs are saved |  |
 | ||
——————————————————————————– END ——————————————————————————————————
SECTION -3
Create Database using dbca
| # | Description | Command / Details / Screenshots |
| 3.1 | Login to Server as oracle(MAC Users: Make sure to do this in XQuartz) |  |
| 3.2 | Type “dbca” to start Database Configuration Assistance |  |
| 3.3 | Step 1 of 15You will see the following window for few seconds before the Oracle Universal Installer starts. Click On “Create a database”Click [Next] |   |
| 3.4 | Step 2 of 15Click on “Advance Configuration”Click [Next] |  |
| 3.5 | Step 3 of 15Keep database type to “Oracle Single Instance Database”Use “General Purpose” templateClick [Next] | 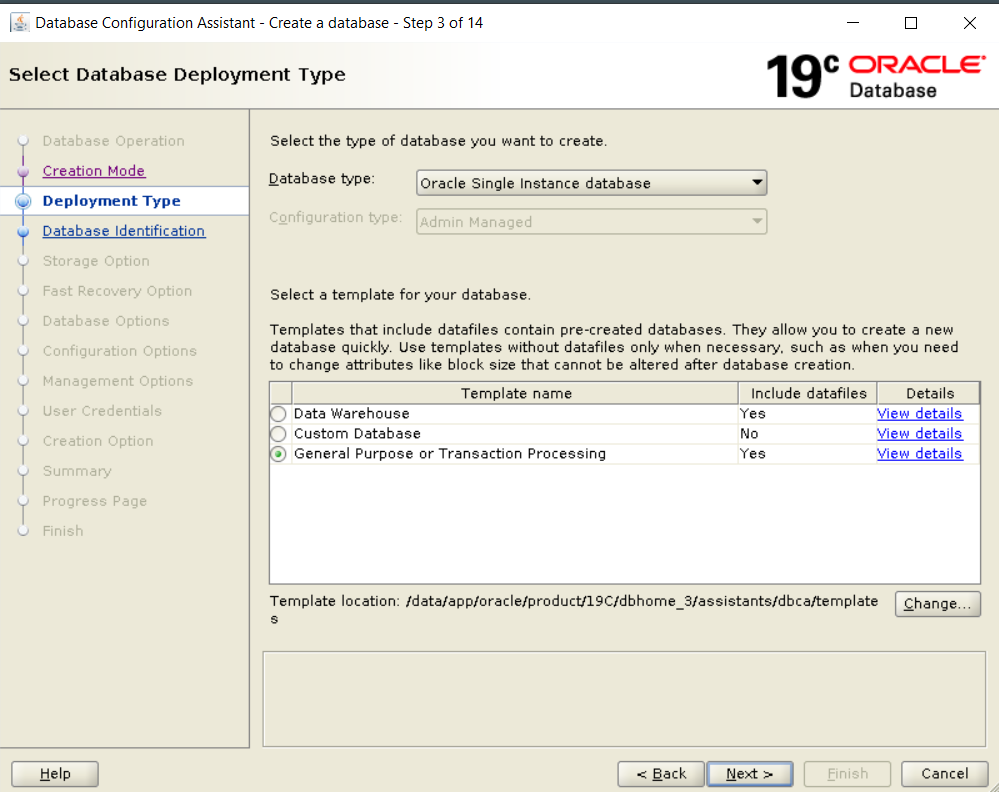 |
| 3.6 | Step 4 of 15Global Database Name: TESTDBSIDTESTDBcheck “Create as container Database”Click [Next] |  |
| 3.7 | Step 5 of 15Select “Use the following for the database ….”Click [Next] | |
| 3.8 | keep Select Fast Recovery Option same as ScreenshotClick [Next] |  |
| 3.9 | Step 7 of 15Keep the listener same as screenshotClick [Next] |  |
| 3.10 | Step 8 of 15Keep all unselectedClick [Next] | 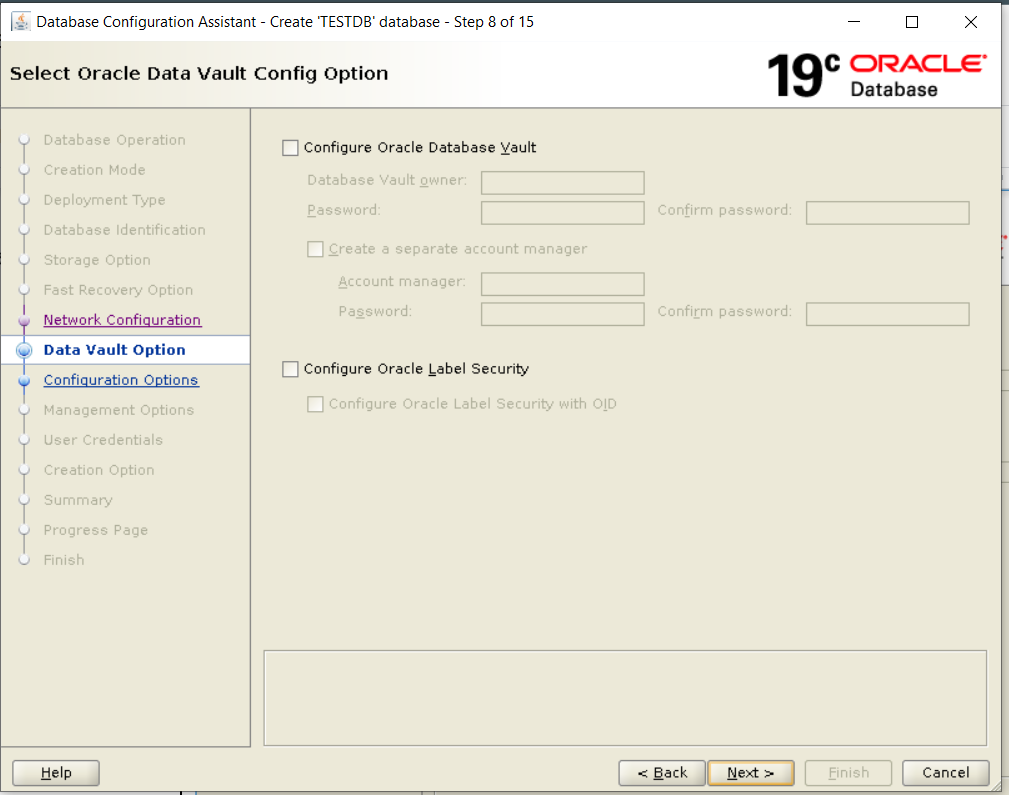 |
| 3.11 | Step 9 of 15Select on “Use Automatic Shared Memory ManagementSGA = 1102PGA = 360[Click Next] | |
| 3.12 | Step 10 of 15Deselect everything on EM optionsClick [Next] | 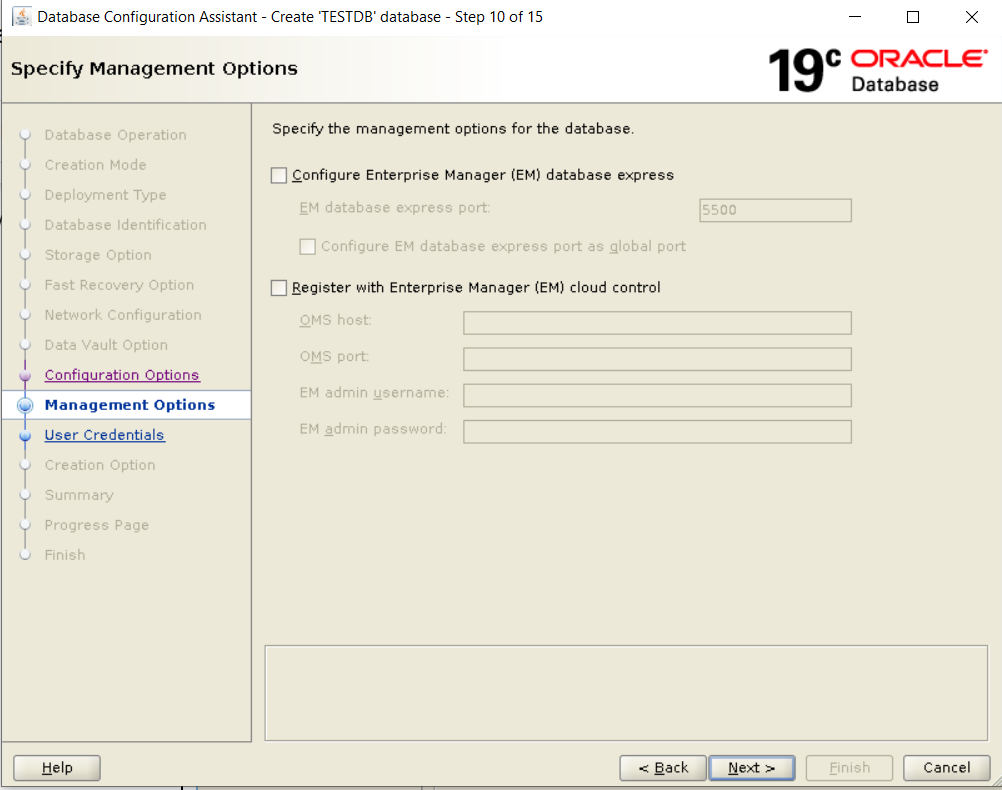 |
| 3.13 | Step 11 of 15Provide password. Password I have given is abc123. Although this kind of password is not recommended, I wanted to show you the error you will get if password is not strong.Click [Next] |  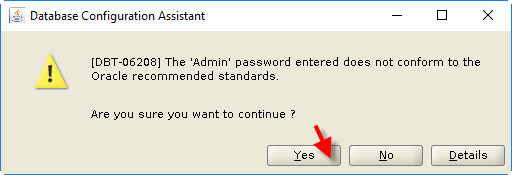 |
| 3.14 | Step 12 of 15Select “Create Database”Select “Save as database template”Provide the template name as “MyFirstDBTemplate”Select “Generate database creation scripts”” | 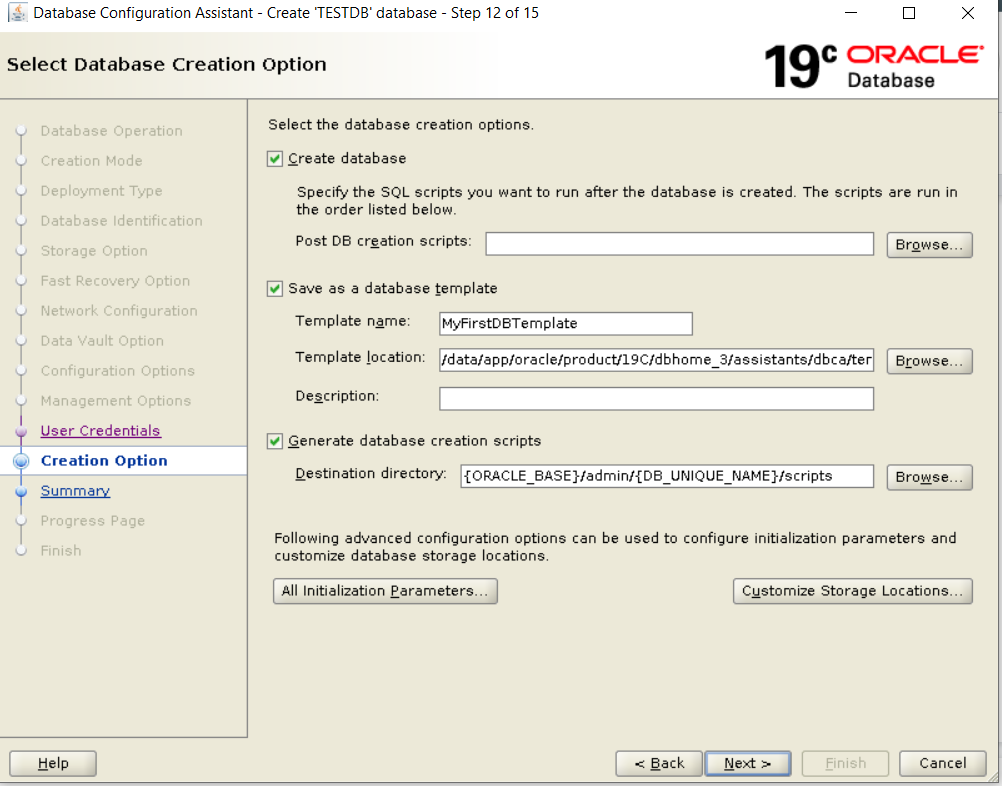 |
| 3.15 | Step 13 of 15Click on “Save Response File” Click on “Save” when prompted on a new window. Click [Finish] |    |
| 3.16 | Step 14 of 15Progress page will start. It will show the progress. Be patient even if it is stuck on 0%. It will complete as long as you have not made any error.DO NOT hit cancel. |  |
| 3.17 | Step 15 of 15Click [Close] |  |
| 3.18 | Let’s verify if the instance is all good to be tested.Login to server as oracleVerify pmon process for TESTDB is workingps -ef | grep pmon Set Oracle Environment to TESTDB. oraenv → TESTDB Set Oracle Environment to TESTDB. oraenv → TESTDB Login as syssqlplus / as sysdba Login as syssqlplus / as sysdba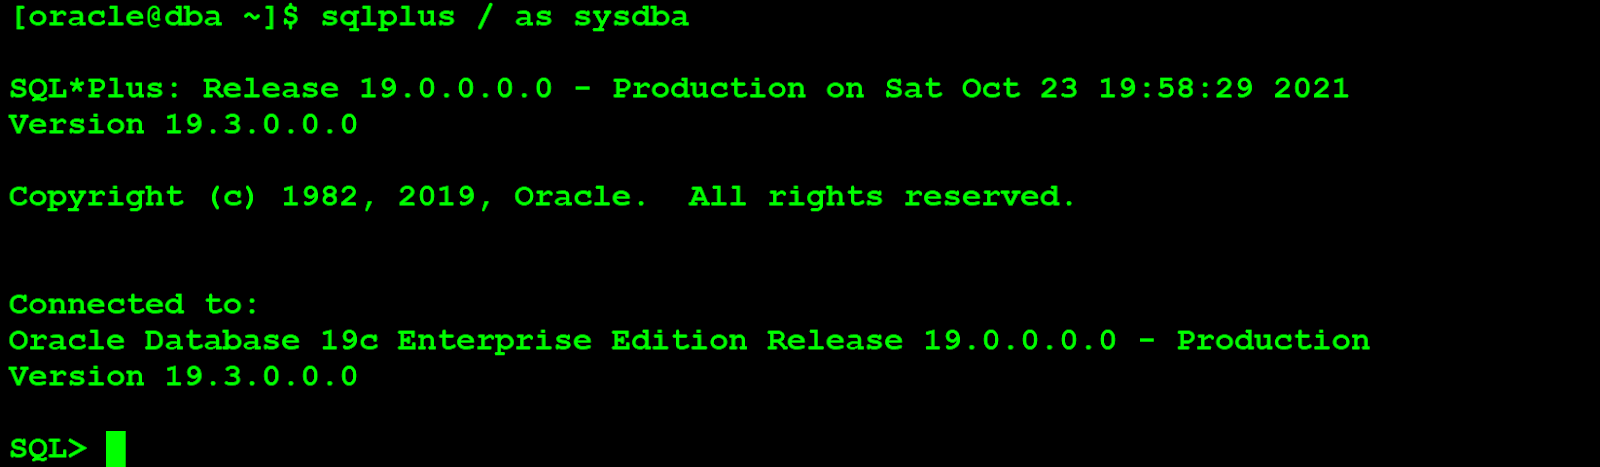 show user show user Select status from v$instance; Select status from v$instance; Select systimestamp from dual; Select systimestamp from dual;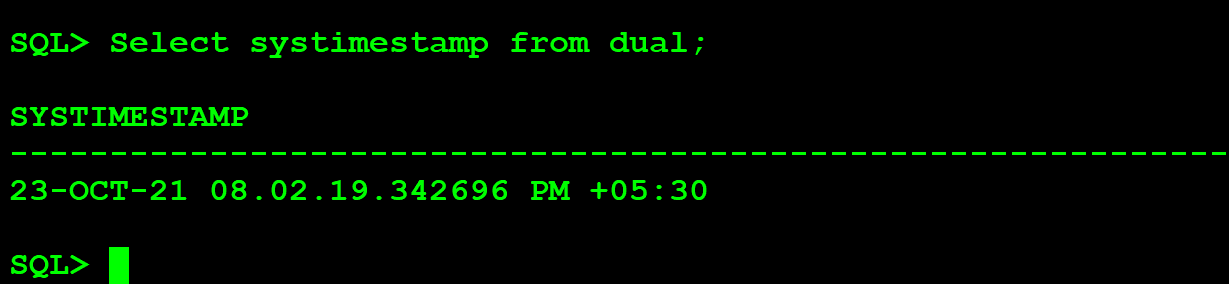 !hostname !hostname | |
——————————————————————————————THE END——————————————————————————————–
Hope it Helps


Your information will never be shared with any third party